Hydration Bladder Tube Freezing and Bursting: What Actually Happens and How to Stop It
The first time I encountered this problem was on a winter mountaineering course in the Cascades — temperature dropped to 18°F overnight, and by 0700 the next morning, three out of seven students had solid ice in their drink tubes and one had a cracked reservoir seam. We lost a full day of training managing dehydration. That lesson cost us more than the gear did.
Hydration bladder tube freezing and bursting is not an edge case. It is one of the most predictable cold-weather gear failures in the backcountry, and yet it keeps catching people off guard because most preseason gear checks happen in warm garages, not freezing conditions. This article is built on field experience, not manufacturer spec sheets.
Why the Tube Freezes Before the Reservoir Does
The tube is the most vulnerable part of your hydration system in cold weather — it has the smallest volume, the most surface area exposure, and zero insulation by default. Freezing begins in the tube within minutes at temperatures below 28°F.
The physics here are straightforward. Your reservoir sits inside your pack, pressed against your back. Your body heat radiates into the pack body and keeps the main bladder above freezing for a surprisingly long time — sometimes hours, even in sub-zero conditions. The tube, on the other hand, runs outside the pack, often along a shoulder strap, fully exposed to ambient air.
Water freezes at 32°F, but moving water resists freezing longer than standing water. When you stop hiking and stop drinking, the thin column of water sitting in that exposed tube becomes completely static. At 25°F, that column can freeze solid in under 10 minutes.
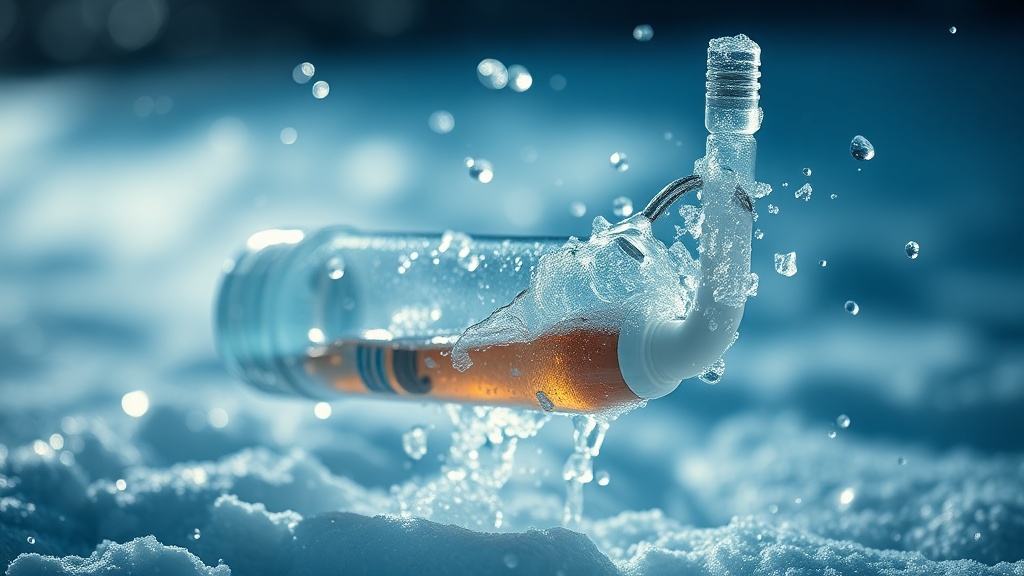
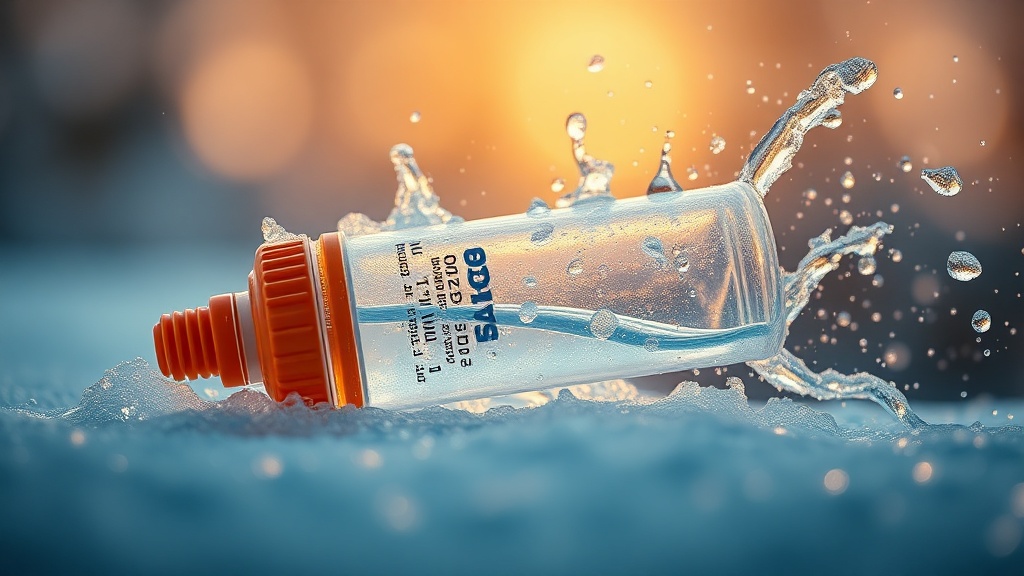
The burst risk is a separate issue from the freeze itself. Ice expands roughly 9% by volume. A tube that freezes completely with water trapped inside has nowhere to accommodate that expansion. Cheaper thermoplastic tubing — especially tubing with micro-cracks from age or UV exposure — will split along the seam. You won’t notice until you bite the valve and pull in nothing but cold air, or worse, you unpack a soaking wet sleeping bag at camp.
The Real Danger: Dehydration Masking as Gear Failure
When your tube freezes, you stop drinking — and in cold environments, thirst sensation is already blunted by up to 40%, meaning you don’t feel the deficit until you’re already compromised.
I’ve seen this pattern in search-and-rescue callouts more than once. The subject was moving in sub-freezing temps, thought they were hydrating, had a frozen tube, never noticed, and arrived at camp cognitively impaired. Cold-weather dehydration accelerates hypothermia onset and impairs decision-making — two things you cannot afford when the margin for error is already thin.
Dehydration in winter doesn’t feel like dehydration in summer. You’re not sweating visibly, you’re not thirsty, and you’re too focused on cold management to think about water intake. A frozen tube removes the passive reminder to drink. That’s the real danger — not the inconvenience, but the silent performance degradation that follows.
“In cold-weather survival scenarios, the tube is not just a delivery mechanism — it is a liability. Design your hydration system as if the tube will fail, because below 28°F and stationary, it probably will.”
— Field note, WFR Advanced Winter Module
Hydration Bladder Tube Freezing and Bursting: Prevention That Actually Works
Prevention requires active management, not passive gear upgrades. The single most effective technique costs nothing: blow the water back into the reservoir after every sip.
After you take a drink, blow air back through the bite valve. This clears the tube of standing water completely. No water in the tube means nothing to freeze, nothing to burst. I’ve used this technique at -10°F with an uninsulated tube and had zero freezing issues across a 9-hour approach. It works because it removes the failure point entirely rather than trying to manage it.
Insulated tube covers add a layer of protection but should be treated as backup, not primary defense. They slow the freeze rate significantly — a quality neoprene sleeve can extend your safe static window from under 10 minutes to 30-45 minutes at 20°F — but they don’t eliminate the risk. The blow-back technique plus an insulated sleeve is the combination that holds up in real conditions.
Routing matters more than most people realize. Run your tube under your jacket collar, not along the outside of the shoulder strap. Internal routing keeps the tube in your body heat envelope for its entire length. External routing maximizes cold air exposure. This single change costs nothing and extends functionality in marginal temperatures by a measurable margin.
For temperatures consistently below 20°F, consider switching to a wide-mouth insulated bottle for primary hydration and keeping it inside a chest pocket or accessible hip pocket. The hydration bladder becomes a backup reservoir, not a primary delivery system.
Identifying a Burst Tube Before It Becomes a Crisis
Check your tube connection points first — the union between tube and reservoir and the bite valve housing are the two most common burst locations, not the middle of the tube run.
On closer inspection, most tube failures happen at stress points rather than mid-span. The reservoir connection fitting creates a pressure concentration when ice forms in the adjacent tube section. If you’re going to carry a field repair kit — and you should — a length of medical-grade silicone tubing, two small hose clamps, and a utility knife lets you bypass a burst section in under 5 minutes. I’ve used this repair on two separate expeditions. Both times it held for the remainder of the trip.
Know the pre-failure signs: reduced flow rate when drinking, a slight crystalline resistance when biting the valve, or visible frosting on the outside of an insulated sleeve. Any of these means the tube is at or near freezing internally. Act immediately — blow the tube clear and reroute if possible.
Gear Selection: What Separates Cold-Weather Systems from Fair-Weather Ones
Not all hydration bladders are engineered for sub-freezing use — buying a cold-weather rated system means verifying the tube material, not just the reservoir rating.
When you break it down, the tube material is the critical spec. Polyurethane tubing remains flexible at lower temperatures than standard PVC-based tubes. PVC hardens and becomes brittle below 32°F — that brittleness dramatically increases burst risk under the pressure of ice expansion. Check manufacturer specs for cold-temperature flexibility ratings. NOLS has published solid field guidance on winter hydration systems that aligns with what I’ve observed across multiple cold-environment deployments.
Bite valves deserve attention too. Silicone valves remain pliable in cold far better than harder plastic assemblies. A frozen bite valve that you force open will crack — and a cracked valve drains your entire reservoir into your pack without warning. Replace valves annually if you’re doing regular cold-weather use.
Most guides won’t tell you this, but: an inexpensive wide-mouth Nalgene bottle used correctly in cold weather will outperform a $60 insulated hydration system used incorrectly. The Nalgene won’t freeze as fast when kept in a jacket pocket, won’t burst if it does freeze (the wide mouth allows expansion), and requires zero technique to use. Gear complexity is not always gear improvement.
Field Recovery When It’s Already Frozen
If your tube has already frozen solid, do not try to force fluid through it under pressure — you will rupture the tube at its weakest point.
The recovery sequence: disconnect the tube from the reservoir, hold the tube inside your jacket against your body for 3-5 minutes, then blow gently from the bite valve end to test for movement. If the tube has cracked during freezing, you’ll feel air escaping along the tube run before any water passes through. At that point, field repair or switching to your backup hydration source is the correct call.
The underlying reason is simple physics: you cannot push water through a tube that has ice bridging it. Pressure buildup behind the ice plug has to go somewhere, and it will find the weakest point — usually a connection fitting or an existing micro-crack. Patience and body heat are your tools here, not force.
FAQ
At what temperature will a hydration bladder tube freeze?
Static water in an uninsulated tube will begin freezing at 32°F and can freeze completely solid within 10 minutes at 25°F or below. Moving water resists freezing longer, which is why the blow-back technique — clearing standing water after each drink — is the most effective prevention method available.
Can a frozen hydration tube burst and damage my pack contents?
Yes. A tube that freezes with water trapped inside expands approximately 9% as the ice forms. Tubes with existing micro-cracks, stress points near fittings, or made from rigid PVC-type materials are most vulnerable to splitting. A burst tube can drain your entire reservoir into your pack, soaking insulation layers and electronics.
What is the best way to prevent tube freezing without buying new gear?
Blow air back through the bite valve after every sip to clear the tube of standing water. Route the tube inside your jacket rather than along the exterior of your pack shoulder strap. These two zero-cost techniques will prevent tube freezing in most conditions down to approximately 15-20°F and cost nothing to implement.
The reframe you walk away with: hydration bladder tube freezing isn’t primarily a gear problem. It’s a systems problem. The tube fails because of how people use the system — stopping movement, leaving standing water in the line, routing it in the coldest possible position. Fix the behavior first. The gear upgrades are the backup plan.