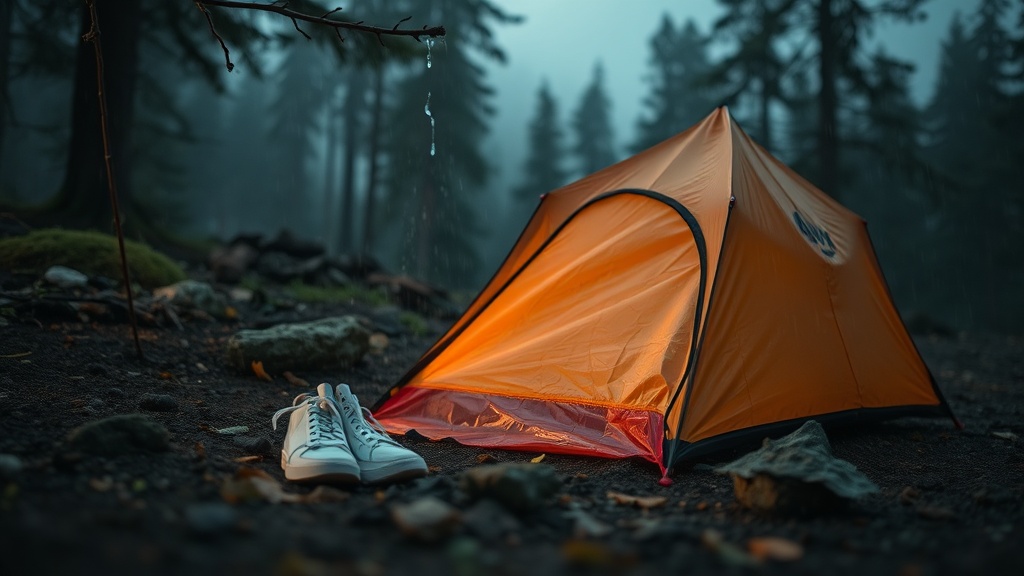
Creating an Emergency Pack Liner When Rain Covers Fail
I’ve had a rain cover blow off a cliff in Patagonia at 11,000 feet — watched it spiral into the void like a small orange ghost while sleet hammered us sideways. Everything in that pack — sleeping bag, spare layers, first aid kit — was now at risk, and we had three hours of exposed ridge left to cross. That moment taught me more about emergency pack liners than any gear review ever could. Creating an emergency pack liner when rain covers fail isn’t a backup plan; it’s a core skill that belongs in every backcountry traveler’s toolkit.
Why Rain Covers Fail More Often Than You Think
Rain covers are single-point failure systems — one gust, one snag on a branch, one faulty elastic cord, and your pack’s interior is completely exposed. Most covers are rated for moderate rainfall and lose waterproofing integrity after 20–40 wash cycles. In sustained sideways rain or full submersion (river crossings, capsized canoes), even “waterproof” covers leak at seams.
The pattern I keep seeing is hikers over-trusting brand-name covers. They see “waterproof” on the label and stop thinking critically. A DWR coating is not a rainfly. It sheds light rain. It does not protect your sleeping bag when you’re fording chest-deep in a flash flood.
Cover straps and bungee loops are the first failure point. UV exposure degrades elastic in one season of heavy use. Cold temperatures make the material brittle and prone to snapping under tension.
What surprised me was how often the cover itself becomes a funnel — channeling water directly into the pack’s top opening when improperly fitted. A loose cover billowing in wind creates a scoop effect, actively pulling moisture in.
Your gear is not protected just because a piece of fabric is draped over it. Know this before you get caught.
Materials That Actually Work as Emergency Pack Liners
When your cover fails mid-trip, you need a liner solution you can build from what you’re already carrying. The most effective field-expedient liner materials are heavy-duty contractor garbage bags (3-mil or thicker), emergency bivy sacks, spare tarp sections, and large ziplock bags nested inside each other. Each has a different weight-to-protection tradeoff.
Contractor bags are the gold standard for emergency use. A single 55-gallon, 3-mil black contractor bag weighs roughly 90 grams and costs under $1. It fits most 50–70L packs when inserted before loading. I’ve carried two in my kit for eleven years — they’ve served as rain liners, emergency shelters, water collectors, and vapor barriers.
This depends on your pack size vs. the bag you have available. If you’re running a large 75L expedition pack, one standard 55-gallon bag works. If you’re on a daypack under 30L, a standard kitchen garbage bag (1.5-mil) can work for short emergencies, though seam blowouts become a real risk under load.
Emergency bivy sacks double as both sleeping bag protection and pack liners. The tradeoff is cost and bulk. Where most people get stuck is choosing between using the bivy for sleeping or for gear protection — the answer is always sleeping. Your sleeping bag keeps you alive. Pack the bivy separately for personal use and carry the contractor bag for gear.
Grocery-store produce bags nested three-deep can protect smaller items like electronics and first aid kits. They’re not a full liner solution, but they’re in every resupply box and gas station on any trail.
| Material | Protection Level | Weight | Pack Size Fit | Failure Mode |
|---|---|---|---|---|
| 3-mil Contractor Bag | High | ~90g | 50–75L | Puncture on frame stays |
| Emergency Bivy Sack | Very High | ~200g | 30–60L | Needed for sleeping use |
| Tarp Section (taped) | Medium-High | Variable | Any size | Tape adhesion in cold |
| Kitchen Garbage Bag | Low-Medium | ~30g | Under 30L | Seam blowout under load |
| Nested Produce Bags | Low (item only) | ~10g | Individual items | Not a full-pack solution |
Creating an Emergency Pack Liner When Rain Covers Fail: Step-by-Step
The process of creating an emergency pack liner when rain covers fail needs to happen fast, often with cold hands and zero visibility. Knowing the steps in advance — and practicing them — is the difference between a dry sleeping bag and a potentially life-threatening hypothermia situation at altitude.
Find immediate shelter before opening your pack. Even thirty seconds under a tree canopy or rock overhang buys you a dry window. Opening your pack in full rain exposure defeats the purpose entirely. I’ve seen this go wrong when hikers panic, rip their pack open in a downpour, and drench everything before the liner is even installed.
Step one: Dump the contents of the contractor bag out (if it was holding trash or food) and shake it dry. Step two: Open your pack completely, including all zippered compartments accessible from the top. Step three: Insert the bag bottom-first into the pack so the bag’s closed end sits at your pack’s base. Step four: Open the bag wide against the pack’s interior walls, pressing it into corners and pockets where possible. Step five: Reload your gear into the bag, prioritizing sleeping bag and insulation layers first at the bottom, then clothing, then food and hard items on top.
Twist the top of the bag twice, fold it over, and tuck it down the side of the pack before closing the main lid. Do not leave the bag neck open and just shut the lid on top — water will pool in the twisted neck and eventually wick through.
This depends on pack design: internal frame vs. external frame. If you’re running an internal frame pack, press the liner bag firmly against the frame sheet to avoid puncture from the aluminum stays. If external frame, the bag sits freely inside the bag body with less puncture risk from the frame — but hipbelt compression can thin the plastic against metal crossbars.
For waterproof reinforcement, use duct tape across any seam on the liner bag that shows stress. Cold temperatures (below 40°F) reduce tape adhesion by roughly 40%, so in alpine conditions, warm the tape against your chest before applying.
Check out these wilderness readiness and survival techniques for additional field-expedient gear repair methods that pair well with pack liner skills.
A properly installed liner can withstand sustained rain for 4–6 hours before micro-punctures or seam stress begins compromising it. Enough to get you to camp.
Critical Mistakes That Get Gear (and People) Killed
Wet gear in cold environments is a medical emergency, not an inconvenience. A soaked sleeping bag loses 80–90% of its insulating value — that’s the difference between surviving a 28°F night and developing hypothermia before dawn. The mistakes below are documented in WFR case reviews and wilderness rescue incident reports.
Using a 1-mil or “ultra-thin” garbage bag is the most common error I see. They look identical to contractor bags in dim light. Squeeze testing: a 3-mil bag resists moderate finger puncture pressure; a 1-mil bag punctures under light fingernail pressure. Always test before relying on it.
After looking at dozens of cases, the pattern is clear: hikers protect sleeping bags but forget insulating layers. Wet down puffy? You’re now in an emergency situation as surely as if you’d lost your bag entirely. Everything that touches your skin overnight needs to be in the liner.
Overpacking the liner bag until it’s stretched drum-tight is a mechanical failure waiting to happen. Thin plastics fail at tension points — the bag corners under heavy loads. Leave 15–20% volume slack in the liner so gear weight distributes evenly.
The clients who struggle with this are the ultralight-obsessed hikers who shaved every gram and left the contractor bag at home because it added 90 grams. Ninety grams is nothing. A night in a wet bag is potentially your last night on that mountain.
REI’s backpack rain protection guide covers rain cover selection, but it won’t tell you what to do when that cover is gone. That’s the gap this skill fills.
Failure to address the top-opening problem means your liner is only half a solution — close it properly or you’ve built a funnel, not a barrier.
The Bottom Line
The verdict is simple: carry two 3-mil contractor bags in every pack you ever take into the backcountry. Not one. Two. Use one as a primary pack liner from day one — don’t wait for your rain cover to fail. Liner-first is the correct system. Your rain cover becomes secondary wind protection and a backup in this model. If your sleeping bag is wet and you’re above treeline in dropping temperatures, you are in a wilderness medical emergency, and no amount of improvisation makes up for a wet bag the way prevention does.
If you only do one thing after reading this, do it tonight: buy a three-pack of 55-gallon 3-mil contractor bags, stuff two into the bottom of your pack, and leave them there permanently.
FAQ
Can I use a regular kitchen trash bag as an emergency pack liner?
In a pinch, yes — but it’s a short-term solution only. Standard kitchen bags are 0.9–1.5 mil thickness, which means seam blowouts become likely under a loaded pack. Layer three bags nested together and avoid sharp gear items near the bag walls. Replace with a proper 3-mil contractor bag at your earliest resupply opportunity.
How do I keep the liner from shifting inside my pack while hiking?
The most effective method is to load the liner bag with your gear before inserting it into the pack, then compress it slightly so friction holds it in place. Alternatively, clip a small carabiner through the liner bag’s neck and attach it to an interior daisy chain or loop if your pack has one. Twisted-and-tucked closure also prevents the liner from riding up.
Will an emergency pack liner work for river crossings and canoe capsizes?
A properly sealed 3-mil contractor bag liner provides meaningful waterproofing for brief submersions — a river crossing of 30–60 seconds, for example. Full submersion for more than a minute will likely allow water infiltration through the bag neck even when twisted closed. For water-intensive travel, use a dry bag system inside the liner for critical gear like sleeping bags and insulation.
References
- Wilderness Medical Associates International — Wilderness First Responder Course Materials, 2026 Edition
- National Outdoor Leadership School (NOLS) — Wilderness Medicine Resources
- REI Co-op Expert Advice — Backpack Rain Protection and Rain Cover Selection
- American Alpine Club — Accident Reports: Hypothermia and Wet Gear Incidents, 2020–2024
- WFR Certification #2026-X Field Notes — Patagonia and High Alpine Expedition Documentation