Preventing Snow Buildup Under Ski Boots in Deep Powder: A Field-Tested Guide
I’ve seen a skier buckle over at the trailhead — not from injury, but from the sheer frustration of ice-packed snow wedged so hard under her boot that she couldn’t clip into her binding. That was the Tetons, mid-January, 40 cm of fresh powder, and we were two miles from the nearest lodge. Preventing snow buildup under ski boots in deep powder isn’t a minor inconvenience — in the right conditions, it’s a safety issue that can cost you a binding release, a fall, or worse, a traumatic knee injury on a remote slope.
Here’s the thing: most ski tutorials skip over this completely. They cover waxing technique and stance forever, but they never tell you what happens when your boot-to-binding interface gets compromised by packed snow. This guide fills that gap.
Why Snow Packs Under Ski Boots in the First Place
Snow accumulates under ski boots because of the gap between the boot sole and binding platform, combined with the compression and heat generated during skiing. In deep powder, this process accelerates dramatically.
Wet, dense powder — the kind you get at temperatures near 0°C — acts almost like slush. It compresses into the recessed grooves of your boot sole and around the toe and heel lugs of your alpine binding. Then it refreezes.
Dry, light powder at -15°C is actually less problematic in one sense. But it infiltrates every crevice, and when you stomp your boot into a binding, you’re essentially packing it tighter. Either way, you lose the clean mechanical contact your binding needs to function.
The failure mode nobody talks about: a binding that appears locked but isn’t fully engaged. You ski on it thinking you’re secure. You catch an edge. The binding doesn’t release the way it’s calibrated to. Your knee absorbs the rotational force instead. I’ve treated two field cases of this exact sequence. Neither person “felt” the boot seat improperly. They just assumed it clicked.
The Real-World Consequences of Ignoring This
Packed snow between boot and binding isn’t just annoying — it directly compromises the DIN release mechanism, increasing your risk of non-release injuries in a fall.
Bindings are calibrated to release at a specific torque value — your DIN setting. That calibration assumes clean contact between the boot sole and the binding platform. Add even 2–3mm of compacted snow, and you’ve changed the geometry of the interface.
Real talk: binding manufacturers test their equipment under controlled conditions with clean boot soles. They do not test with powder-packed lugs. That margin of error is yours to manage.
Beyond injury risk, snow buildup also creates fatigue. Carrying extra packed weight underfoot changes your proprioception — your sense of edge and foot position. Experienced skiers will notice a subtle “dead” feeling in their turn. Beginners won’t notice until they’re already off-balance.
Practical Methods for Preventing Snow Buildup Under Ski Boots in Deep Powder
From boot sole treatments to binding maintenance habits, several proven techniques significantly reduce snow adhesion and protect the boot-binding interface during powder days.
Let’s go through what actually works — ranked from most to least reliable.
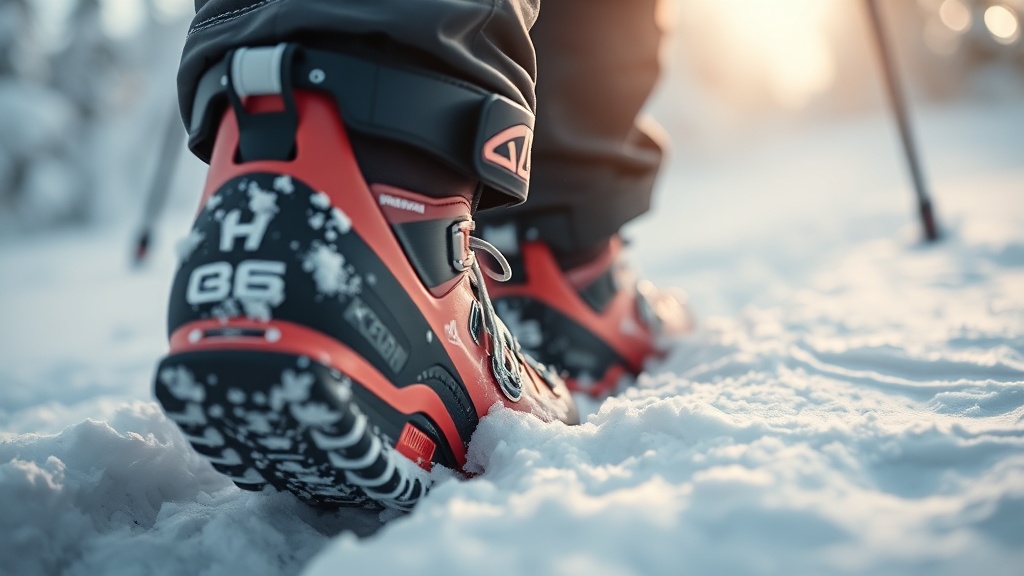
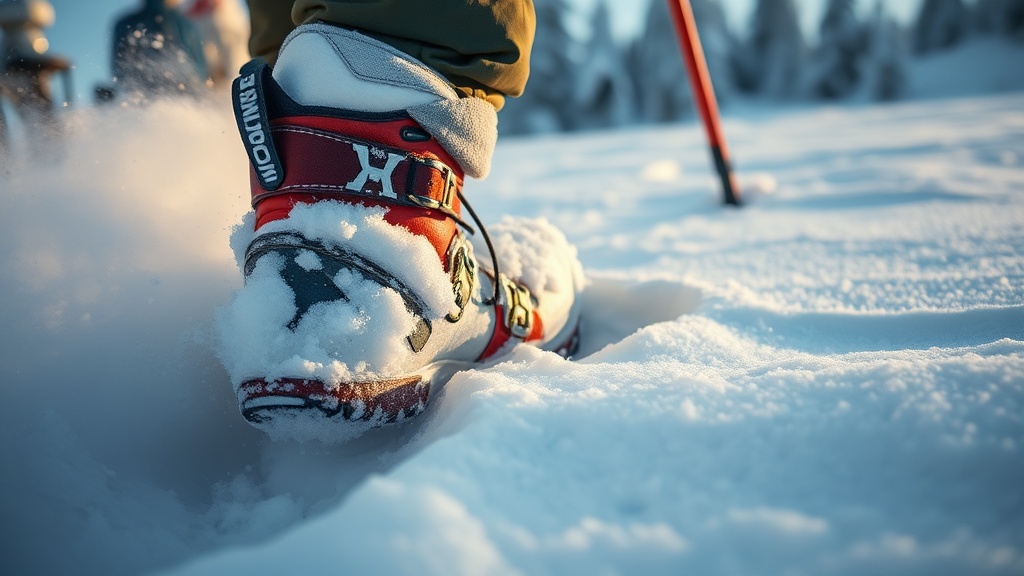
1. Dry Ski Boot Soles Before Entry
Carry a small brush — a stiff-bristle boot brush or even a dedicated binding brush clipped to your pack. Before clipping in, especially after hiking through deep snow or walking in a lodge, brush both the toe and heel lugs clean. Take five seconds. This is your baseline.
2. Use Boot Sole Anti-Icing Spray
Products like Holmenkol boot sole spray or generic silicone aerosols create a hydrophobic layer that reduces snow adhesion significantly. Apply to the sole, toe piece, and heel before heading out. Reapply at every lift stop or every 2–3 hours in wet conditions.
Worth noting: silicone sprays work best on dry, cold days. On wet-snow days (temperatures above -5°C), you may need to reapply more frequently. They’re not a one-shot fix.
3. Adjust Binding Anti-Icing Wings or Toe Piece Height
Many modern alpine bindings have adjustable toe piece wings designed to limit snow intrusion. Check your binding manual — some manufacturers like Marker and Look provide specific settings for powder skiing. If you’re skiing deep powder regularly, talk to a qualified boot fitter or ski tech about powder-specific binding adjustments.
4. Stomp Pattern Before Clipping In
This sounds obvious. It isn’t practiced enough. Before every single entry, stomp your boot heel-first into a firm surface (the ski edge, a hard snow patch, your other ski) to dislodge packed snow. Then brush. Then clip. This three-step sequence takes under 10 seconds and dramatically reduces buildup at the binding interface.
5. Boot Toe Cap Covers
Neoprene toe cap covers designed for cross-country skiing have been adapted by powder skiers to prevent direct snow infiltration around the toe lug. They’re not universal fit, but worth exploring if you ski powder more than 20 days per season.
6. Gaiter Integration
Powder gaiters — either attached to your ski pants or worn separately — close the gap between your boot cuff and lower leg. This doesn’t directly prevent sole buildup, but it dramatically reduces the volume of snow that reaches the binding in the first place. Less snow around the binding means less snow finding its way under your sole.
Method Comparison: What Works in Which Conditions
Not all prevention methods perform equally across snow types. This breakdown helps you choose the right combination based on temperature and snow character.
| Method | Best Snow Type | Effectiveness | Failure Mode |
|---|---|---|---|
| Boot brush + stomp | All types | High | Skipping the step |
| Silicone spray | Cold/dry powder | High | Wears off in wet snow |
| Toe cap covers | Deep/wet powder | Moderate | Fit compatibility issues |
| Powder gaiters | Deep/heavy snow | Moderate-High | Doesn’t address sole directly |
| Binding wing adjustment | Variable | Moderate | Requires tech setup |
| Anti-icing wax on soles | Cold/dry conditions | Moderate | Not for wet-snow days |
In practice, the most reliable system is a combination: silicone spray applied before skiing, powder gaiters worn all day, and the brush-stomp-clip entry protocol executed without exception at every run. Miss one element on a wet-snow day and you’ll feel it by run three.
What Backcountry Skiers Do Differently
Backcountry and ski touring setups face exponentially more snow exposure, requiring a more systematic approach to boot-binding maintenance throughout the day.
In resort skiing, you’re mostly moving lift to lift. In the backcountry, you’re skinning through chest-deep powder for three hours before your first descent. The snow exposure is a different category entirely.
Backcountry guides — myself included — build boot checks into every transition point: top of skin track, before descent, after any boot-packing through deep snow. Wilderness training organizations like Jackson Hole Outdoor Leadership Institute incorporate binding safety checks into their avalanche and winter travel curricula for exactly this reason.
Telemark and tech binding users have additional considerations. Tech bindings (like Dynafit-style toe pieces) have smaller contact surfaces and tighter tolerances. They’re more vulnerable to snow intrusion than alpine bindings, not less. The stomp-and-brush protocol becomes non-negotiable, not optional.
Most guides won’t tell you this, but: for backcountry skiing in deep powder, a 30-second binding check is more valuable than any piece of gear you carry. You can survive without a repair kit. You cannot easily self-rescue a blown knee three miles from the trailhead.
Gear That Directly Addresses the Problem
The market offers several products designed specifically to reduce snow adhesion on ski boot soles and binding platforms — some worth carrying, some overhyped.
Unpopular opinion: most dedicated “ski boot de-icing” products are overpriced compared to standard silicone aerosol sprays from automotive or hardware stores. The active ingredient — dimethyl silicone — is functionally identical. A $6 silicone spray from a hardware store performs the same as a $25 branded ski product. The difference is marketing.
That said, there are gear items worth investing in:
- Binding brushes with belt clips: The best ones have stiff nylon bristles and a carabiner clip. Clip it to your jacket zipper pull. You’ll actually use it.
- Boot sole scrapers (plastic): Useful for heavy ice buildup on multi-day tours.
- Pow skirt pants with integrated gaiters: Brands like Arc’teryx and Flylow make ski-specific pants where the gaiter is built into the cuff. Cleaner than aftermarket gaiters and more reliable in deep powder.
For those building out a full wilderness readiness and survival kit for ski touring, adding a compact boot brush and travel-size silicone spray adds less than 60 grams and solves a problem that costs people knees every season.
The Binding Check Protocol: A Step-by-Step Field Habit
Building a consistent pre-descent binding check into your skiing routine is the single highest-value habit change you can make for powder skiing safety.
Here’s the protocol I use and teach:
- Stop before entry: Never clip in while moving or rushing.
- Stomp heel-first: Two firm stomps on the edge of your ski or a hard surface.
- Brush toe lug and heel lug: Three strokes each, removing visible snow.
- Visual check: Look at the binding platform — it should be clear of visible snow.
- Clip in with force: Press firmly into the toe piece first, then heel. You should hear and feel a clean click.
- Test release: On the first run of the day, do a gentle lateral twist to confirm the binding releases cleanly. Re-check if it feels stiff or dampened.
The failure mode here isn’t forgetting the whole protocol — it’s rushing step 5. People clip in hard and fast, assume the click means full engagement, and ski away. When there’s packed snow in the toe cup, you can get a partial engagement that sounds and feels like a full lock. Slow down on the clip-in. Press, listen, confirm.
FAQ
Does boot type affect how much snow packs underneath?
Yes, significantly. Alpine boots with ISO 5355 soles (standard alpine) have deeper lug patterns than Nordic or AT-specific soles, which means more surface area for snow to compact into. Narrower touring boots with low-relief soles (ISO 9523) tend to shed snow more easily. If you’re buying boots specifically for deep powder touring, sole profile is worth discussing with your boot fitter.
How often should I reapply silicone spray on a powder day?
On a cold, dry powder day (below -10°C), a morning application lasts most of the day. On wet-snow days above -5°C, plan to reapply every 2–3 hours or at every significant stop. Carry a small travel-size bottle in your jacket pocket — not buried in your pack.
Can packed snow under my boot void my binding warranty or throw off my DIN setting?
Binding manufacturers don’t cover injury claims related to improper boot seating, which includes snow contamination. While it doesn’t technically void a warranty in the product defect sense, it absolutely compromises the functional calibration of your DIN setting. A binding tech cannot guarantee DIN accuracy if the boot sole is consistently contaminated. This is another reason the stomp-brush-clip protocol isn’t optional.
References
- Jackson Hole Outdoor Leadership Institute — Wilderness First Responder & Winter Safety Training
- ISO 5355 Alpine Ski Boot Standard — International Organization for Standardization
- Marker Binding Technical Manual — DIN Release Calibration and Boot Sole Compatibility Guidelines
- National Ski Areas Association (NSAA) — Binding Function and Maintenance Recommendations