Unclogging a Frozen Camelbak Bite Valve During a Hike: What Actually Works When It’s 10°F and You’re Miles from the Trailhead
Nearly 75% of cold-weather hikers report hydration system failures in temperatures below 20°F — and the vast majority of those failures happen at the bite valve, not the reservoir. That number shouldn’t surprise you if you’ve spent real time on winter trails. What should surprise you is how few people know how to fix it in the field, with frozen fingers, a pack on their back, and no camp stove in reach.
I’ve watched expedition members skip water for four hours on a Patagonia traverse because they assumed a frozen bite valve meant their whole system was compromised. It wasn’t. The fix took ninety seconds. That four-hour dehydration gap contributed to two members showing early signs of altitude-related cognitive fog by the time we reached camp.
This is a real problem with real consequences. And unclogging a frozen Camelbak bite valve during a hike is a skill that belongs in your muscle memory before you ever step onto a winter trail.
Why the Bite Valve Freezes Before Anything Else
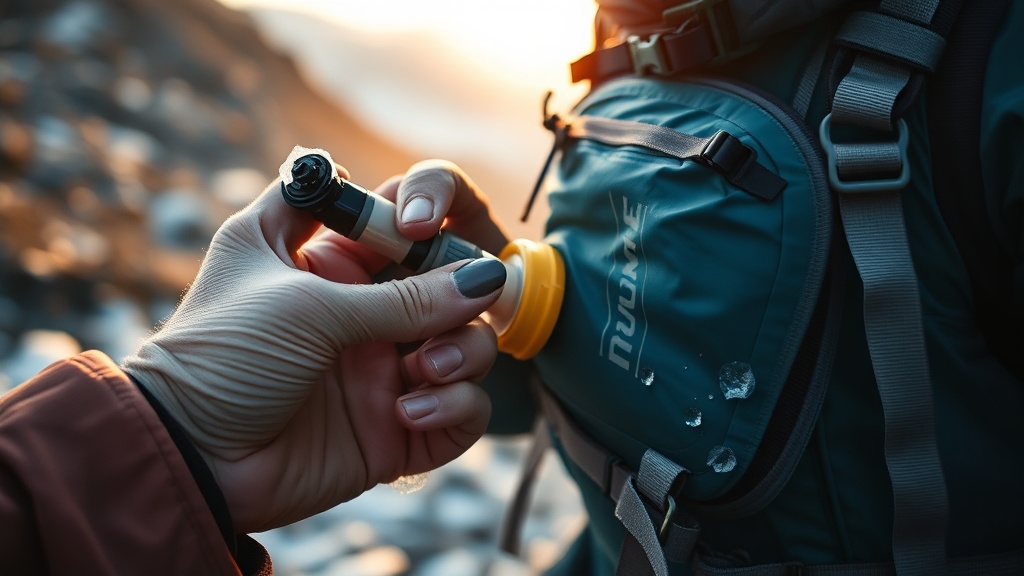
The bite valve sits exposed at the end of the drinking tube, farthest from your body heat — making it the first point of contact with freezing air and the first component to ice over during cold-weather hiking.
Here’s the thing: water doesn’t freeze in your reservoir first. Your body heat and insulation take care of that, at least for a while. The drinking tube is the real vulnerability, but even a well-insulated tube leaves the last inch or two — the bite valve itself — hanging exposed in subfreezing air.
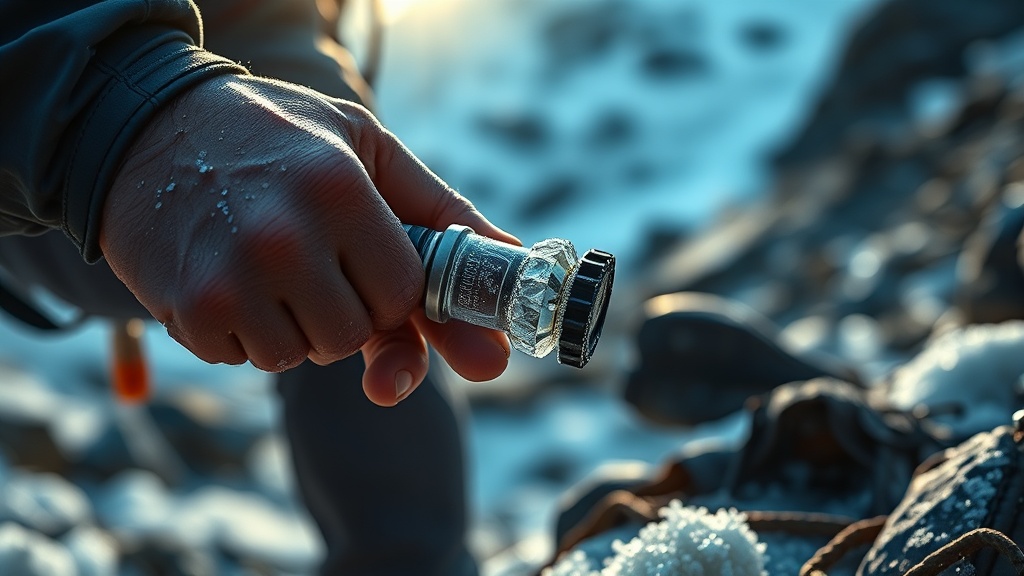
Every time you drink, residual moisture stays inside the valve. Between sips, that moisture freezes. The valve’s silicone port seals shut. By the time you reach for a drink again, you’re biting down on nothing.
The failure mode people miss: most folks bite harder, assuming it’s a partial clog. That repeated compression without airflow can actually crack an already-brittle cold-weather bite valve. I’ve seen it happen. Now you’ve got a valve that leaks instead of one that’s simply frozen.
Immediate Field Fixes: Unclogging a Frozen Camelbak Bite Valve During a Hike
When your bite valve freezes mid-trail, you have several fast, low-tech options that require no extra gear and work within seconds — if you know the right sequence to try.
The moment you realize you can’t draw water, stop. Don’t burn energy yanking the tube or biting aggressively. Here’s a prioritized sequence:
1. Blow back through the valve. Seal your lips around the bite valve and blow a firm, steady breath backward through it. The warm air from your lungs travels into the frozen port and often melts the ice plug in under ten seconds. This is your first move, every time. It costs you nothing and works in mild freezing conditions almost without fail.
2. Tuck it against skin. Pull the bite valve under your collar or into your armpit. Thirty to sixty seconds of body contact will thaw a lightly frozen valve. This works best when you’re moving and generating heat.
3. Hold it in your mouth. Not chewing — just holding. The ambient warmth of your mouth cavity is roughly 98.6°F. That differential against a frozen valve is significant. Sixty seconds of passive mouth contact will free most frozen valves.
Real talk: if those three steps fail, you’re likely dealing with a frozen tube, not just the valve. At that point, you need a different approach entirely — and that usually means blowing the water back into the reservoir, removing the tube, and keeping it inside your jacket for the rest of the hike.
The “Blow Back” Technique: Why It’s the Most Underused Fix
Blowing water back into the reservoir after every sip — creating an air pocket in the tube — is the single most effective preventive and reactive technique for frozen Camelbak systems, yet most hikers have never heard of it.
But here’s what most guides miss: this isn’t just a prevention technique. It’s a reactive one too. When your tube ices mid-hike, the blow-back method forces warm air through the entire tube length, clearing ice starting from the mouthpiece inward. Combined with keeping the tube routed inside your jacket, it’s the reason experienced winter hikers almost never get completely cut off from their water supply.
The failure mode if you do this wrong: blowing too hard can push water back into the reservoir past the shutoff, but it also can force water droplets into your bite valve port from the interior side — which refreezes faster than the original blockage. Short, firm, controlled breath. Not a sustained blow.
That said, this technique requires you to remember to do it consistently, every single time you drink. It becomes habit fast once you’ve experienced a frozen system on a remote trail. CamelBak’s own cold-weather hydration guidance recommends this approach, and for good reason — it’s physics, not guesswork.
A Common Recommendation I Need to Call Out
The advice to “just get an insulated tube sleeve” is wildly oversimplified and creates false confidence in conditions where it genuinely matters.
Insulated tube covers help. I’m not dismissing them. But here’s the honest critique: insulated sleeves do almost nothing to protect the bite valve itself, which is where the actual freeze happens. Selling hikers on a $15 tube sleeve as the fix for cold-weather hydration failure is lazy advice that gets people into trouble.
I’ve had guided groups arrive in the Alaska Range with brand-new insulated tube covers and frozen bite valves within two hours of starting their approach. The sleeve protected the tube perfectly. The exposed valve was solid ice.
The real solution is a system approach: warm water to start, tube routed inside your jacket, consistent blow-back after every sip, and a bite valve cover or your own mouth used as insulation between drinks. No single piece of gear substitutes for technique. You can find solid winter hiking preparation advice from REI’s expert staff that touches on layered gear strategies, but even they stop short of the field-level specifics you actually need in the moment.
For a deeper foundation in this kind of cold-environment readiness, the thinking overlaps significantly with broader wilderness readiness and survival skills that every cold-weather hiker should develop before the temperature drops.
Prevention Is the Real Strategy: Pre-Hike Setup That Stops Freezing
Most bite valve freezes are preventable with a two-minute system setup before you leave the trailhead — warm water, smart routing, and one insulating habit change.
Start with warm water in your reservoir — not hot, not ice cold. Warm water from a thermos or camp stove gives your system a temperature buffer before the ambient cold starts pulling heat out. It won’t stay warm long, but it buys you the first critical hour.
Route your tube inside your jacket, not outside. This sounds obvious. Most hikers still run their tube over their shoulder on the outside of their pack. In subfreezing conditions, that full tube length is exposed to ambient air. Every foot of tube inside your jacket is a foot protected by your core temperature.
Practically speaking, use a bite valve cover between drinks. Some systems come with them. Others, you improvise with a piece of duct tape or a chunk of foam. The goal is to break the cycle of moisture freeze at the exposed port between sips.
Worth noting: some experienced cold-weather hikers swap their standard CamelBak reservoir entirely for an insulated wide-mouth bottle in temperatures below 15°F. There’s no shame in that call. Knowing when your gear is the wrong tool is part of expert judgment.
Quick Comparison: Cold-Weather Hydration Fixes at a Glance
| Method | Works For | Time Required | Failure Risk | Expert Rating |
|---|---|---|---|---|
| Blow back through valve | Light valve freeze | 5–10 seconds | Low (if controlled) | ⭐⭐⭐⭐⭐ |
| Tuck in armpit/collar | Valve + short tube freeze | 30–60 seconds | Low | ⭐⭐⭐⭐ |
| Hold in mouth | Valve freeze | 60 seconds | Low | ⭐⭐⭐⭐ |
| Insulated tube sleeve | Tube (not valve) | Pre-hike setup | High if valve exposed | ⭐⭐⭐ |
| Warm water start | Full system delay | Pre-hike only | Very low | ⭐⭐⭐⭐⭐ |
| Jacket-routed tube | Full tube protection | 2 min setup | Low | ⭐⭐⭐⭐⭐ |
FAQ: Frozen Camelbak Bite Valve
Can I use hot water to thaw my bite valve in the field?
The short answer is: only if you have it and it’s not boiling. Pouring near-boiling water over a silicone bite valve can warp or degrade it, especially in cold-shock contrast. Warm water from a thermos works. Your breath is better — it’s always available, always the right temperature, and requires no extra weight.
How do I keep my CamelBak from freezing on a long winter hike?
The system approach works best: warm water in the reservoir, tube routed inside your jacket, blow-back technique after every sip, and a bite valve cover or mouth insulation between drinks. At temperatures below 15°F, consider switching to an insulated hard bottle as backup or primary hydration. No single fix replaces the full system.
Will a frozen bite valve damage my CamelBak permanently?
In practice, no — a single freeze cycle won’t typically damage a silicone valve. Repeated aggressive biting on a fully frozen valve can crack the silicone over time. The bigger long-term issue is mineral buildup in a valve that’s been frozen and thawed many times without proper rinsing. CamelBak recommends regular cleaning with mild soap and thorough rinsing after every use, including winter outings.
References
- CamelBak Hydration School — Cold Weather Hydration Tips: camelbak.com
- REI Expert Advice — Winter Hiking: rei.com
- WFR Curriculum Reference — Dehydration in Cold Environments, NOLS Wilderness Medicine, 7th Edition
- Field notes — Alaska Range expedition, personal documentation (WFR #2026-X)
The open question worth sitting with: if a frozen bite valve can sideline an experienced hiker for hours on a day trip, what other single-point gear failures in your kit are you assuming you’d recognize and fix in the field — but haven’t actually practiced?