Slug: clear-ice-tech-bindings
Clearing Ice from Tech Bindings Without Damaging Springs: What Most Skiers Get Completely Wrong
Everyone says just knock your boot against the binding and stomp a few times. They’re missing the point entirely. That approach — the casual boot-stomp ritual we’ve all watched skiers perform at the top of a couloir — is one of the fastest ways to crack a spring housing, shear a retention pin, or compress a pivot point that’s already stressed from cold temperatures. Clearing ice from tech bindings without damaging springs requires a completely different mindset: precision over brute force, every single time.
I’m not speaking theoretically. I’ve spent two decades guiding in conditions ranging from the Coast Range of British Columbia to the volcanic snowfields of the Southern Andes. I’ve watched expensive bindings destroyed in the first week of a season because someone trusted casual advice from a resort shop tech who’d never skied a 40-degree pitch in -20°C. What follows is what actually works — in the field, under pressure, with cold hands.
Why Ice Builds Up in Tech Bindings in the First Place
Ice accumulation in tech bindings is almost always a design interaction problem — wet snow contacts the metal toe unit, refreezes in the spring cavity, and locks the lateral release mechanism. Understanding this process is the foundation of preventing it.
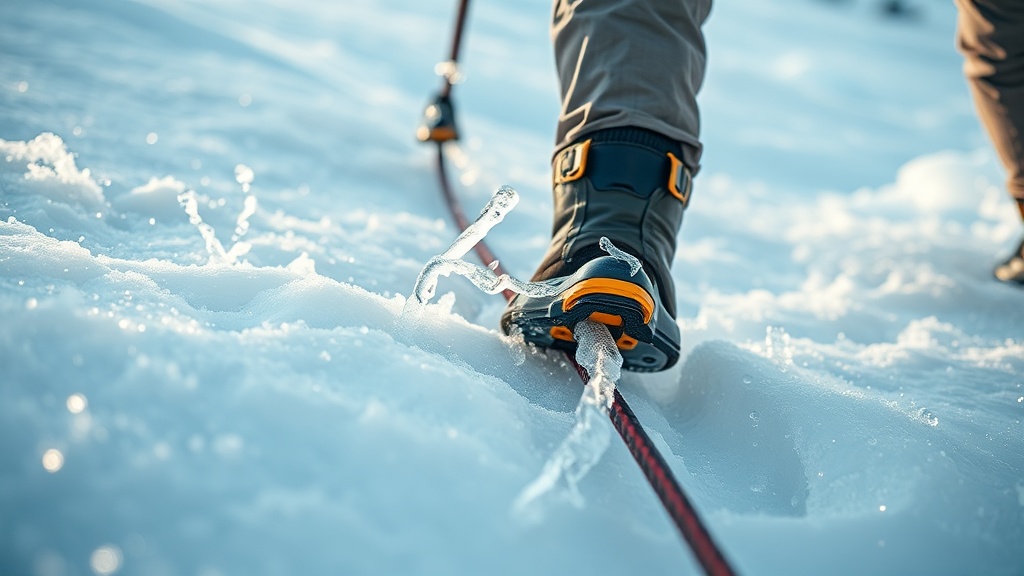
The tech toe unit — that forked jaw assembly that grips the two pins on the toe of your boot — is precision-machined to tolerances measured in fractions of a millimeter. When wet snow infiltrates the cavity behind the jaw, it doesn’t just sit there. It refreezes against the spring housing, bridging across the gap between the jaw and the baseplate. Now your lateral release threshold has effectively changed. The binding either won’t release at all, or it releases prematurely. Both outcomes are dangerous on exposed terrain.
The underlying reason is thermal cycling. Every time you skin uphill, your boot generates heat. Every time you stop to transition, that warmth disappears fast. Melt water that worked its way into the spring cavity refreezes in place. A single transition can build enough ice to compromise your release characteristics on the descent — and you won’t know it until the moment you actually need that release.
The heel unit is slightly more forgiving because it uses a rotation rather than a lateral shear mechanism, but ice in the heel tower pivot is still dangerous. I’ve seen a client’s heel unit fail to release on a mellow slope in the Cascades — not because the snow was unusual, but because three transitions in wet, slushy conditions had packed the heel tower solid with refrozen slush. He tumbled 60 feet before the binding finally gave. He was fine, but we were lucky.
The Tools That Actually Work — And the Ones That Destroy Springs
The difference between a tool that clears ice and one that damages your binding spring comes down to contact surface area and the angle of force applied. Hard metal implements driven straight into the spring cavity are the leading cause of spring damage in field conditions.
Let’s start with what not to use. A ski pole tip seems intuitive — it’s right there, it’s hard, it fits into tight spaces. But a pole tip concentrates force into a single point under high pressure. Applied at the wrong angle inside a spring housing, it compresses the coil unevenly, which fatigues the metal. Do this enough times, and the spring loses tension. Your release value drifts below calibration. You won’t feel the difference on a groomer. You’ll feel it on a hard crust when you need it most.
“The small flat-head screwdriver — stashed in the pack, not carried in a pocket where it can puncture you in a fall — is the single most effective tool for clearing ice from tech toe units in field conditions. Flat blade, narrow profile, used with lateral sweeping strokes, never direct impalement. Jason Albert of The High Route documented this approach, and I’ve independently arrived at the same conclusion after years of field work.”
The correct tool profile for clearing ice from tech bindings without damaging springs is a narrow flat-head screwdriver with a blade width of 3-4mm. You’re not stabbing at ice. You’re sliding the blade horizontally into the gap between the jaw and the baseplate, then sweeping laterally to shear the ice bridge. The goal is to interrupt the contact between the ice and the spring housing, not to excavate the entire cavity in one motion. Small strokes, slight angle changes, patient work.
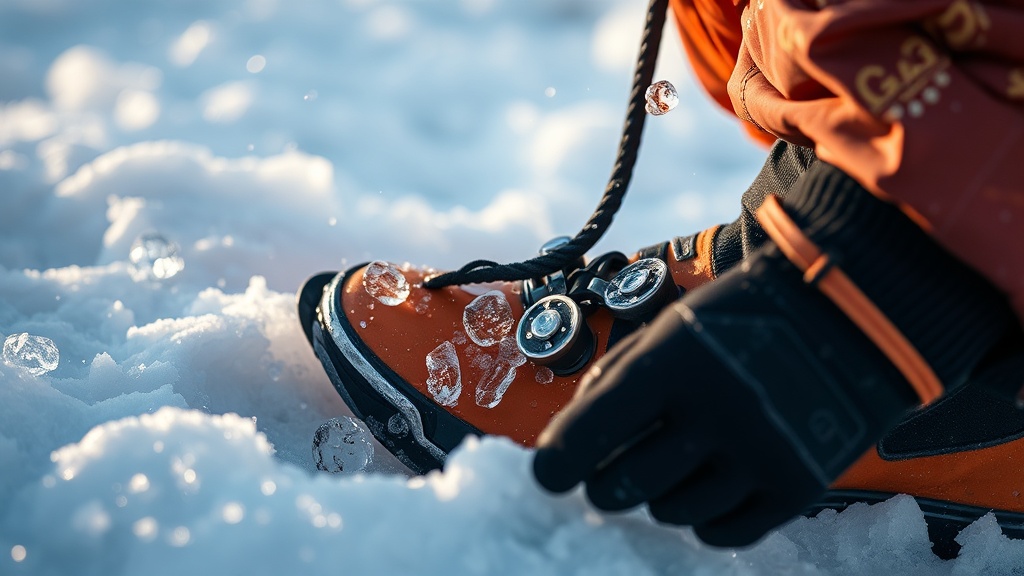
A wooden skewer — the kind used for cooking — is surprisingly effective for clearing the pivot area on heel units. It’s rigid enough to break ice but soft enough that it won’t score a spring coil if you make contact. Carry three or four inside your first aid kit wrap. They weigh nothing. The third time I encountered serious heel unit icing was on a multi-day ski traverse in the Selkirks in February. Temperatures swung 18 degrees between noon and sunset. By day three, two members of our group had heel towers packed with transparent ice. Wooden skewers cleared both units in under four minutes without touching the spring geometry.
What you want to avoid, categorically, is heat from an open flame. Some skiers use a lighter to melt ice out of bindings. This works, but it also changes the temper of spring steel if you hold the flame too close. A brittle spring doesn’t announce itself — it just fails at the worst moment. Warm water from a thermos is a better thermal option if you’re at a proper transition point with time to spare, but even then, you need to work quickly before refreeze occurs.
Timing Is Everything: When to Clear, When to Wait
Most skiers clear ice from their bindings reactively — after a problem has already developed. Proactive clearing at every transition, before the ice has time to bond deeply to the spring housing, is a fundamentally different and more effective strategy.
The transition zone is your window. When you stop to switch from skinning to skiing, your core is warm, your hands still have dexterity, and the ice in your binding has been softening slightly from body heat and friction. That’s the moment to run your screwdriver through both toe units — thirty seconds of lateral sweeping strokes through the jaw cavity. Don’t wait until you’re standing at the top of the descent with frozen fingers trying to figure out why your boot won’t click in.
Looking at the evidence, the failure cascade almost always starts the same way: skier feels resistance when clicking in, forces the boot harder, hears a click they interpret as “good to go,” and descends without confirming both pins are fully engaged. One pin engaged, one pin blocked by ice, equals a partial engagement that mimics a secure connection until it doesn’t. On low-angle terrain this is an inconvenience. On a 45-degree spine, it’s an emergency.
On closer inspection, there’s also a strong case made by backcountry ski specialists at The High Route for developing a consistent clearing routine tied to specific terrain cues — clear every time you top out a ridge, every time you enter a shaded north-facing aspect, every time temperatures drop more than 5 degrees from your last reading. Routine beats reactive judgment every time in cold-weather environments.
Your boot sole matters here too. Ice on the boot toe pins prevents clean engagement as much as ice in the binding jaw. Carry a stiff brush clipped to your pack. Before you attempt to step in, brush the toe pins free. The engagement quality of a clean pin into a clean jaw is unmistakable — a crisp, positive double-click with zero lateral wobble. Anything less, you’re not in, regardless of what the toe unit looks like from above.
Prevention: The Part Nobody Talks About Enough
Binding wax and anti-icing sprays applied correctly at the start of the day can dramatically reduce ice adhesion inside the spring cavity — but application technique determines whether this actually works or just creates a false sense of security.
Ski base wax — the hard, cold-temperature varieties — applied to the inner surfaces of the toe unit jaw reduces the adhesion coefficient of snow and ice to metal. You’re not creating a waterproof barrier. You’re reducing the mechanical bond strength so that ice can be removed with less force. Apply it with a cotton swab to reach inside the jaw cavity. Don’t spray lubricants directly into the spring housing. Most lubricants at -15°C become viscous and actually trap debris, which accelerates ice formation rather than preventing it.
The data suggests that binding covers — neoprene or silicone sleeves designed specifically for tech toe units — offer the most consistent protection in wet snow conditions. They’re not glamorous. Serious backcountry skiers sometimes dismiss them as unnecessary gear. But in isothermal snowpack conditions where wet slush is the medium you’re working through, a toe cover can mean the difference between a smooth transition and a 20-minute field repair session with cold hands.
For anyone building a serious wilderness readiness kit, binding maintenance tools belong right alongside your repair kit essentials — not as an afterthought, but as mission-critical items.
Wipe your bindings dry at lunch stops if you have access to any dry material. A clean, dry bandana performs this function. The principle is simple: ice cannot form where there is no water. Every time you remove moisture from the spring cavity during the day, you’re resetting the clock on the refreeze cycle. This is especially true during spring skiing when daytime warming creates heavy wet snow that packs into binding recesses more aggressively than any winter powder.
Field Repair When You’re Already in Trouble
When ice has fully seized a tech binding in the field and you’re on exposed terrain with no equipment, you need a triage sequence that addresses immediate safety before attempting binding repair.
When you break it down, a fully iced binding in the field is a three-priority problem: first, get yourself to a stable, low-consequence position before you attempt any repair. Never work on a binding while standing on a slope where a slip would matter. Move to a flat section, a skin track cutback, or the lee side of a ridge. Cold hands combined with a precarious stance is a combination that kills people — not from the binding problem, but from the fall that happens while they’re distracted by it.
Second priority: assess whether you can make the binding functional enough to descend safely, or whether you’re managing a full boot-pack scenario. A toe unit that won’t engage at all is a complete descent modifier. A toe unit that engages on one pin can sometimes be skied cautiously to lower terrain if the consequences are manageable. Never ski on a single-pin engagement on serious terrain. Period.
The third priority is the actual clearing work. Body heat is your primary tool when you have nothing else. Hold your bare palm against the toe unit for 90 seconds. The warmth transfers directly to the metal and softens the ice bond without damaging anything. Follow immediately with your screwdriver or skewer and the ice will move far more easily than it did when everything was uniformly cold. This technique — palm warm, then clear — is something I teach in every winter skills course I run. It works when nothing else is available.
Your Next Steps
- Build a binding maintenance kit tonight. Get a 3mm flat-head screwdriver, a handful of wooden skewers, and a small stiff brush. Attach them to a 12-inch loop of paracord and clip it inside your pack lid. Weight: under 40 grams. This kit has saved transitions more times than I can count.
- Practice your clearing routine before your next touring day. At home, in your gear room, click your boot in and out of your bindings ten times while consciously running the screwdriver blade laterally through the jaw cavity. Develop the muscle memory so that on the mountain, with cold hands and fading light, the motion is automatic.
- Apply base wax to your toe unit jaw cavities the night before every tour. Use a hard cold-temperature ski wax, applied with a cotton swab to the interior jaw surfaces. Let it set overnight. This single habit will reduce ice adhesion by a measurable margin across all snow conditions.
FAQ
Can I use WD-40 or chain lube inside my tech binding spring housing to prevent ice?
No. Petroleum-based lubricants attract and hold fine snow crystals, which compact into ice faster than an untreated spring housing. At cold temperatures, many lubricants also thicken and interfere with spring tension. Use hard ski wax on jaw surfaces only — avoid direct lubrication of the spring coil itself.
How do I know if I’ve damaged my binding springs while clearing ice?
Check your release value at a shop at the start and end of each season. A spring damaged by improper clearing will show a measurably lower release torque. In the field, a damaged spring often produces a “mushy” rather than crisp engagement click. If your engagement doesn’t feel solid, don’t ski on it until it’s inspected.
Is it safe to pour hot water on frozen tech bindings to clear them?
Warm water from a thermos — not boiling — is acceptable as a last resort if you allow full drying before refreezing. Boiling water risks thermal shock to spring metal and can affect temper. More critically, any water applied in cold conditions will refreeze within minutes unless you’re actively working through the cleared ice and skiing immediately after.